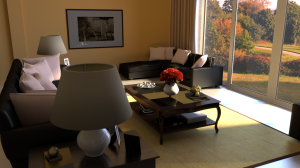
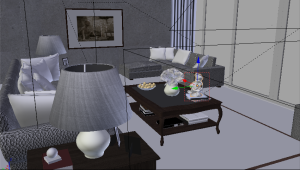
It’s been almost a month now since I started really sinking my teeth into Blender and I’ve gotten quite comfortable already with modelling, texturing, UV mapping — even sculpting — in Blender.
So, for the next Blender exercise, I decided to explore shading, lighting and rendering by doing an architectural interior. I’ve done some basic shading and lighting in my two previous works with Blender but nothing that required complex material setups and rendering tweaks such as what an architectural scene usually requires.
For rendering, I used Blender’s newer render engine, Cycles, a path tracer which can be really handy for achieving photorealism.
Back in 3dsmax, my render engine of choice when doing photorealistic work was V-ray, a really nifty renderer which can do pretty much anything. V-ray is, of course, commercial and, like 3dsmax, it is a bit costly.
I wanted to see how the free Cycles renderer stacks up with an industry standard like V-ray.
Here’s what i’ve observed so far: Cycles can be a really good alternative to V-ray. Although, it is still a long ways before it can catch up with V-ray, it has the makings of a good renderer that, with continued development, it may equal or even surpass V-ray.
What I like about Cycles is that the learning curve is not very steep and setup is really fast. You can’t say the same for V-ray.
Where Cycles lags behind, though, is render speed. V-ray is really quick. Well, V-ray has been around for a while so we can imagine the amount of optimization that its codebase must have already gone through, not to mention the amount of resources poured into development.
But speed is one of the, if not, the most important thing in rendering. So, I hope this is something that the developers in Blender are really putting at the top of their priority list.
Being new in Cycles, there could still be so many things that I still haven’t learned yet, so… more to come.

